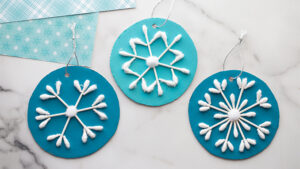
We love that you can easily customize these Q-tip snowflakes by changing up the colors of the cardboard to match your holiday décor. This is also a craft that is great for kids of all ages. Older kids can cut the Q-tips and design the snowflakes themselves. Even preschoolers will love helping to paint the cardboard background and glue the Q-tips on. Add a string to turn them into an ornament or a gift tag.
Materials
Cardboard
Q-Tips
Scissors
Acrylic Paint
Tacky Glue or Hot glue (adult assistance)
Small White Pom Poms
Hole Puncher
String/Twine
Directions
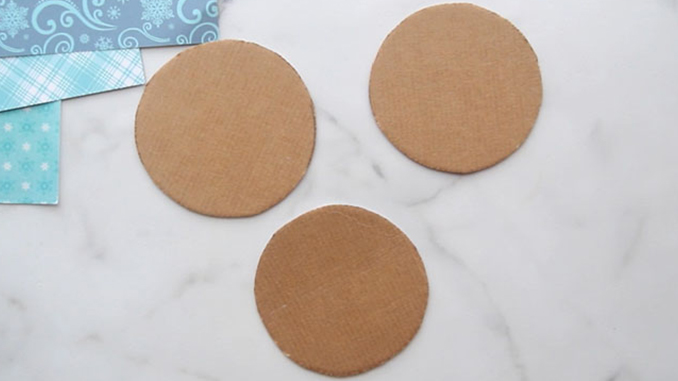
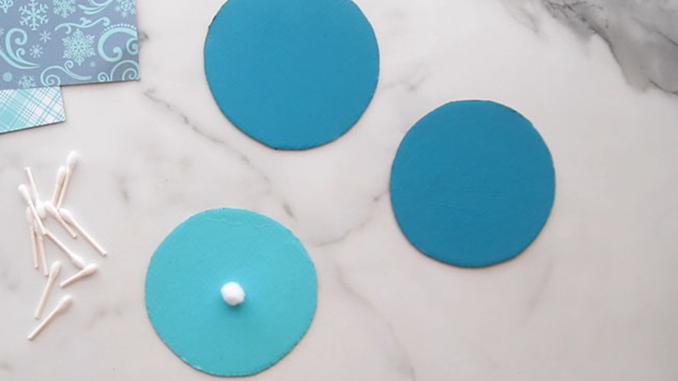
- Cut circles out of cardboard. You can trace around a round object, like a jar or lid, to make a circle shape. Note: Thick cardboard is hard to cut with regular scissors so we recommend a pair of heavy-duty scissors.
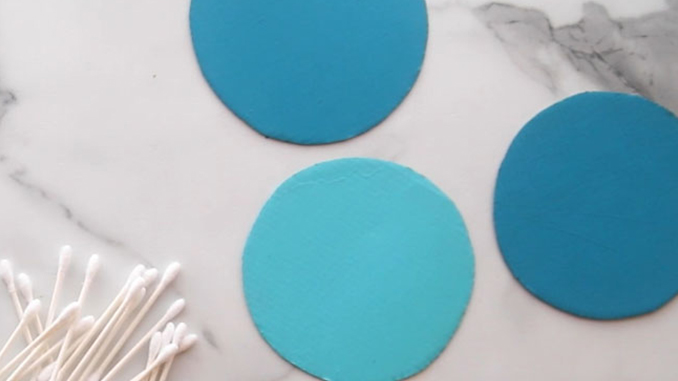
- Paint the cardboard circles. We painted in different colors of blue, but you can paint any color you’d like! Lighter colors of paint may require more than one coat.
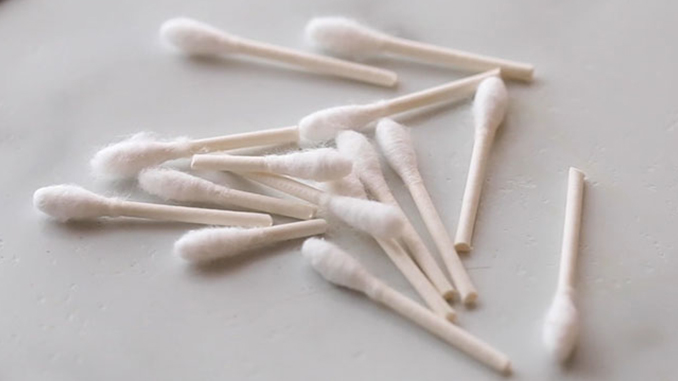
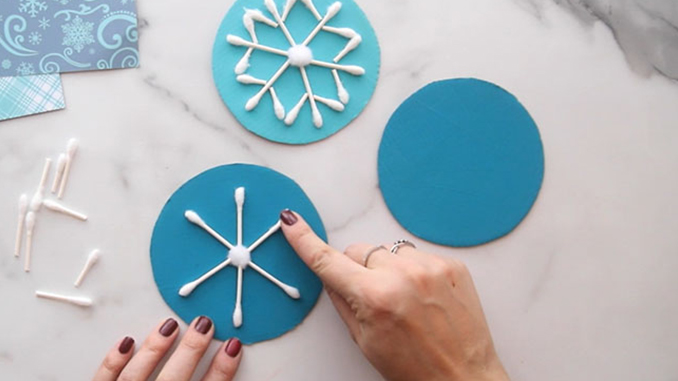
- Cut your Q-tips into pieces. Depending on your snowflake design, you can cut Q-tips into different lengths and sizes. Cut some in half and cut some smaller pieces for the end of the snowflake.
- Glue a white pom pom to the center of your cardboard circle. You can use tacky glue or hot glue for this step (with adult assistance).
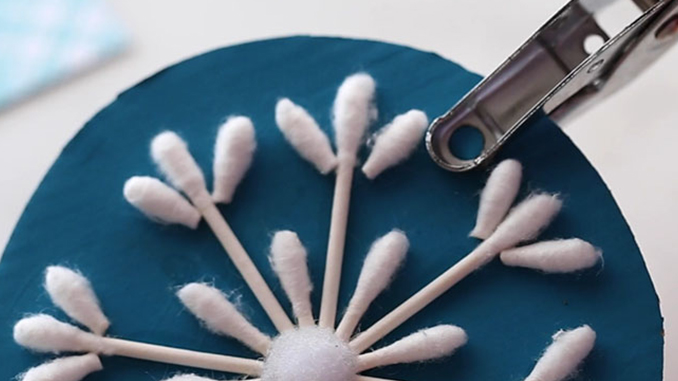
- Attach the Q-tip pieces to the cardboard. Lay out your snowflake design first. Then start to glue the Q-tips to the cardboard, starting with the pieces attached to the pom pom first. This is where you can have fun coming up with all different kinds of snowflake designs!
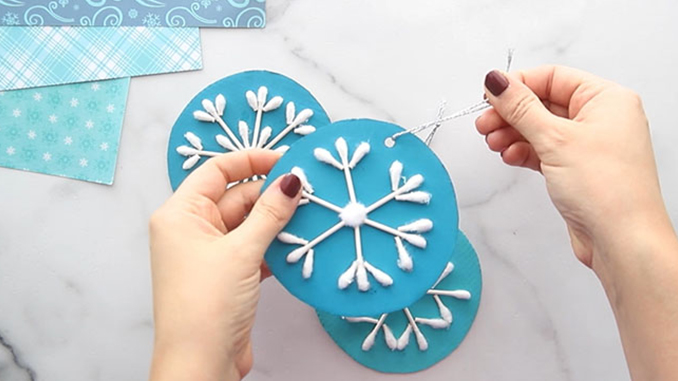
- Hole punch the top of the cardboard to make a hole for the string. Tie a string or piece of twine through the hole.
- Hang on the tree or attach it to a gift! We hope you enjoy making these beautiful snowflakes! These are so pretty and would make a fun gift for Christmas too!
This craft was created by Kimberly McLeod, the creator of The Best Ideas for Kids

